Not to be confused for the yo-yo manufacturer Throw Down
| Throw Down | |
|---|---|

| |
| Trick also known as | (please complete) |
| Type of Trick | Throw |
| Invented by | Classic |
| Difficulty | |
| Videos |
YouTube |
Throwing is where every trick starts at. So if you are starting to yo, learn the following well. Try to get the yo-yo to sleep at the end of the string without it being tilted to either side. You should be able to accomplish this on at least every second throw before trying to learn any other tricks.
There is some confusion in the naming of this trick. The trick shown on this article is known as the Throw Down and not Gravity Pull. The Gravity Pull is performed by holding the yo-yo palm down and releasing it, letting gravity pull the yo-yo toward the ground.
Described here is the throw to the front, starting a frontstyle trick. The same things apply to a sideways throw called a Breakaway.
Holding the yo-yo[]
Before you throw, it is essential, that you hold the yo-yo correctly. The winding has to be such, that when you throw and flick your wrist, the yo-yo is flicked in the direction it wants to unwind. In the two pictures, this is counter clockwise.
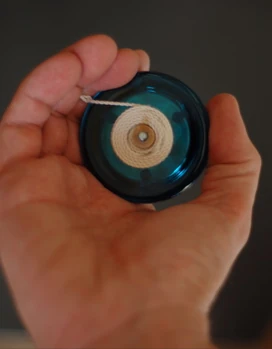  Right |
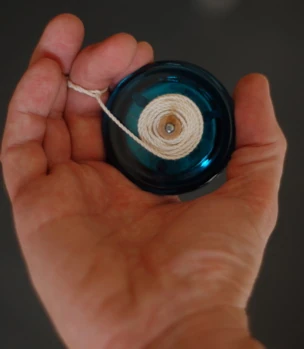  Wrong |
Throwing[]
 |
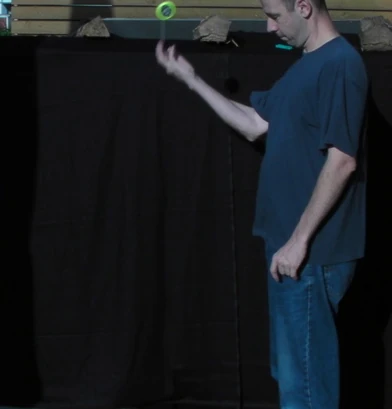
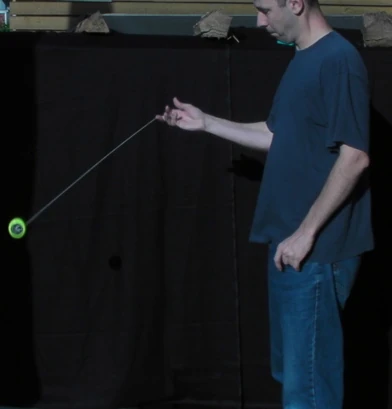
Step 1: Most beginners just hold out their arm, and jerk their hand downward. Do not throw the yo-yo downwards! Instead flex your arm, put your elbow up, hold the yo-yo over your shoulder and imagine throwing it at an object lying on the ground two meters (six feet) in front of you - that is where you should aim. Hold the yo-yo so that it will unwind counter clockwise in our picture, i.e. away from you (see above). |
 |
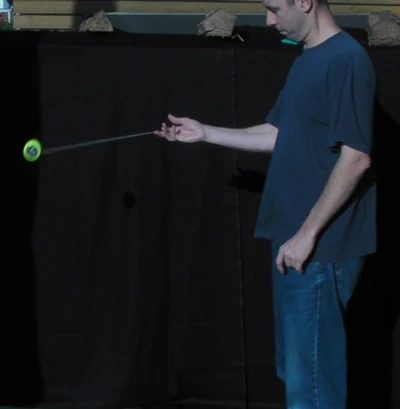
Step 2: Now throw the yo-yo quickly, swinging it up. Yes, you heard correctly, even though this is a Throw Down, you first throw it upwards an then sling it away from you. The slinging motion is what keeps the yo-yo straight. If the yo-yo tilts to one side, too little slinging is usually the culprit. |
|
Step 3: Continue the swing forward ... |
 |
Step 4: ... and down. |
 |
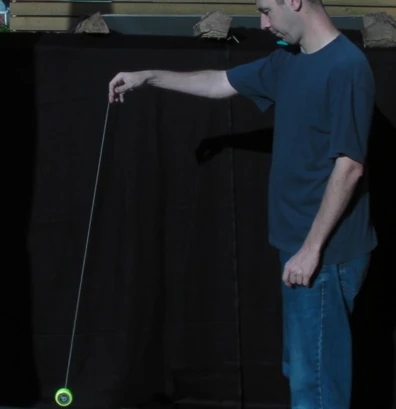
Step 5: At this point it should have almost reached the end of the string. You should cease to pull strongly at this time. With a fixed axle yo-yo, you would bump it into the string end very hard, raising the chance of a string break. With a transaxle, this is the point where the response system will lose its grip on the string, leaving the yo-yo in free fall for about 2-3 cm (1 inch) before bumping into the end of the string, resulting in a sharp tug, that can be quite painful. |
 |
Step 6: This picture shows the short moment of string slackness described in step 5. |
 |
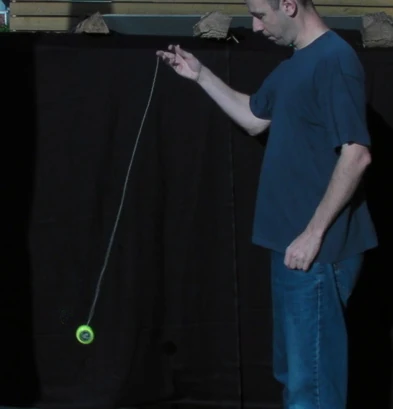
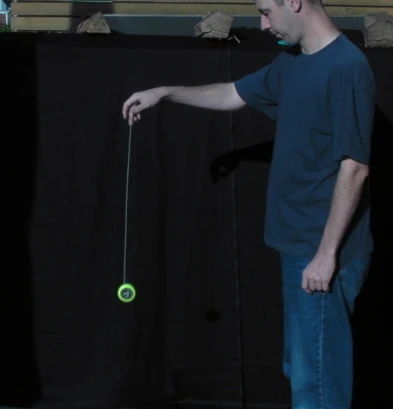
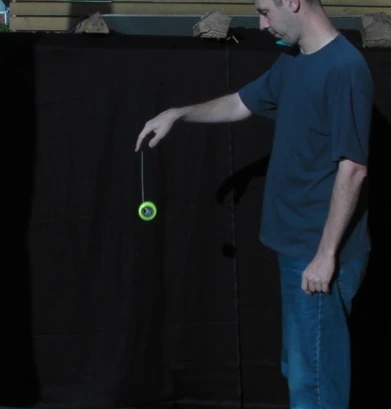
Step 7: The yo-yo should now sleep at the end of the string. If it is too responsive, it will come up immediately, as in step 12. If it sleeps, let it swing ... |
 |
Step 8: ... backwards ... |
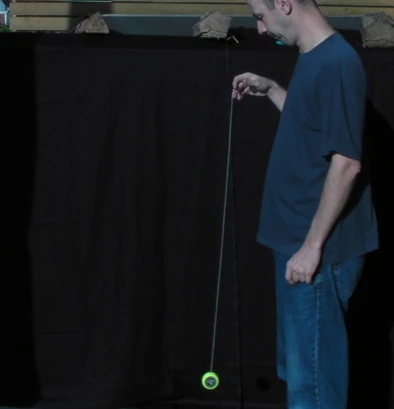 |
Step 9: ... to take out the inertia. Notice the arm movement in this and in the next step. |
 |
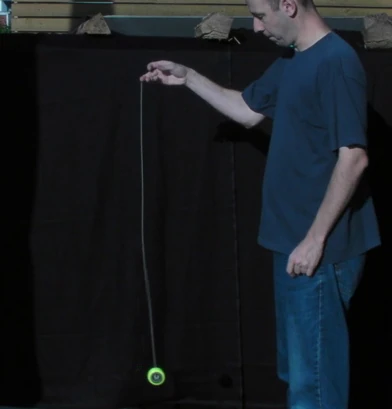
Step 10: When you have the yo-yo hanging in front of you, let it sleep until it slows down. The yo-yo should be completely straight. If it is not, your problem is most probably in steps 1 and 2. If the yo-yo starts out straight, and then starts to lean sideways, your string is probably twisted too much or too little. This exerts a force on the yo-yo, trying to turn it. Due to force induced precession, the yo-yo will slowly tilt sideways. |
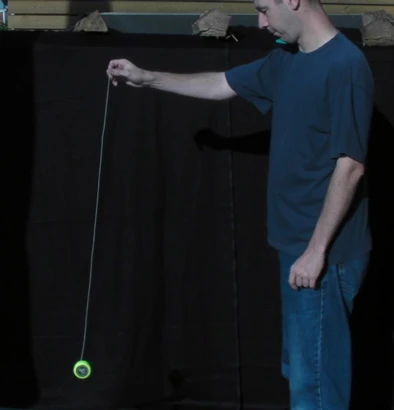 |
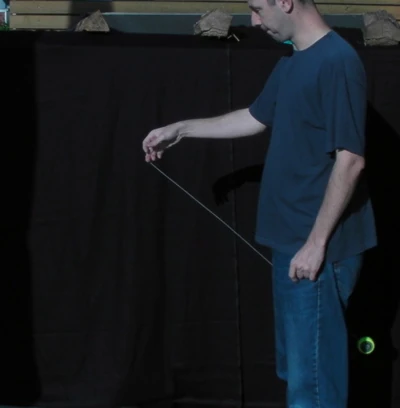
Step 11: Now give it a little tug ... |
 |
Step 12: ... and see it come up ... |
 |
Step 13: ... towards your hand. |
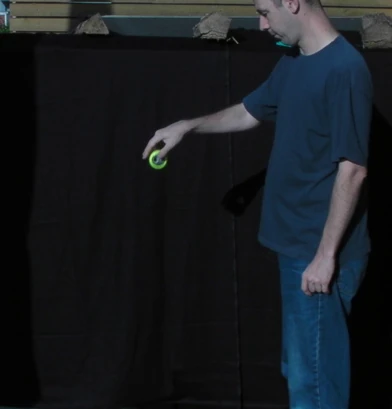 |
Step 14: Catch it from above. You should now have the yo-yo in your hand, ready for the next throw.
|