(New page, now that I know the name. :-)) |
No edit summary |
||
| Line 1: | Line 1: | ||
| ⚫ | |||
| ⚫ | |||
| + | |||
{| class="toccolours" style="left; width: 25em; margin: 2em 2em 2em 2em;" |
{| class="toccolours" style="left; width: 25em; margin: 2em 2em 2em 2em;" |
||
|- |
|- |
||
| Line 11: | Line 12: | ||
| '''Invented by''' || [[Hidemasa Semba]] |
| '''Invented by''' || [[Hidemasa Semba]] |
||
|} |
|} |
||
| + | |||
| + | |||
A cool (and very fast) whip trick, not unlike [[Reverse Slack Trapeze]], but without the pinch. It is recommended, that you master that one before progressing here. |
A cool (and very fast) whip trick, not unlike [[Reverse Slack Trapeze]], but without the pinch. It is recommended, that you master that one before progressing here. |
||
| Line 58: | Line 61: | ||
Step 11: ... you should now be either in a twisted [[Trapeze]] or a [[Reverse Trapeze]], ready to start a [[Bind#Sidestyle BackBind|Sidestyle BackBind]], depending on which segment of the loop you hit the gap with. |
Step 11: ... you should now be either in a twisted [[Trapeze]] or a [[Reverse Trapeze]], ready to start a [[Bind#Sidestyle BackBind|Sidestyle BackBind]], depending on which segment of the loop you hit the gap with. |
||
|} |
|} |
||
| ⚫ | |||
| − | |||
| − | This video should give you an idea of how cool this looks in practice: |
||
| − | {{Infobox Video | title = 1A Hidemasa Hook |
||
| − | | URL = http://www.youtube.com/watch?v=qVmsQG2odXo |
||
| ⚫ | |||
Latest revision as of 16:57, 18 July 2009
thumb|300px|right|Gerard Amento shows how this is done. Contains some nice variations, too.
| Hidemasa Hook | |
|---|---|
 Hidemasa Hook | |
| Type of Trick | Slack |
| Invented by | Hidemasa Semba |
A cool (and very fast) whip trick, not unlike Reverse Slack Trapeze, but without the pinch. It is recommended, that you master that one before progressing here.
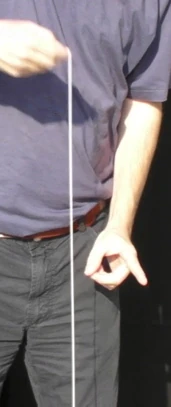 |
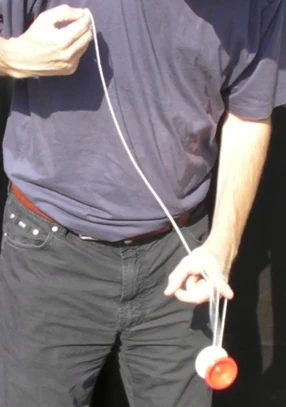
Step 1: Thow a Breakaway and let the yo-yo hang. |
 |
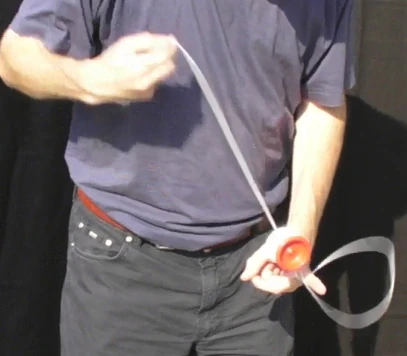
Step 2: Pull upwards... |
 |
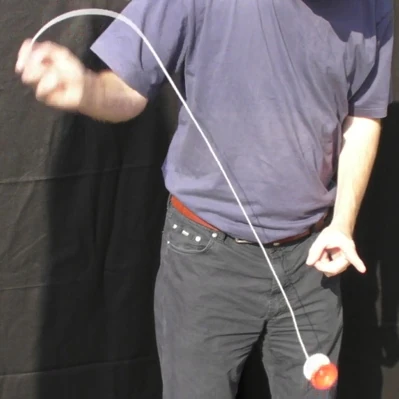
Step 3: ...and whip the string... |
 |
Step 4: ...down... |
 |
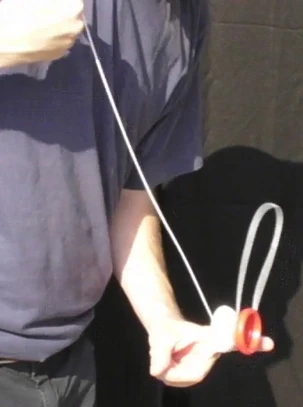
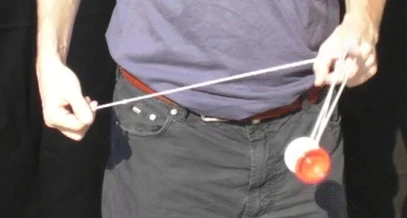
Step 5: ...under your free hand index finger. It is important that, at this time, the yo-yo is hovering next to the finger. |
 |
Step 6: Let the string continue around the finger into the gap... |
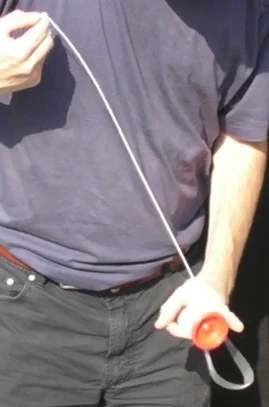 |
Step 7: ...and let it catch there. |
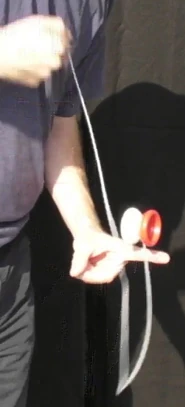 |
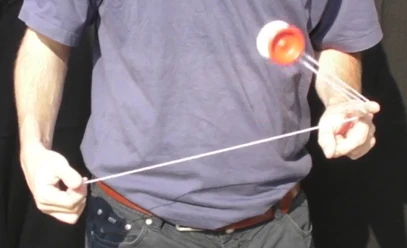
Steps 5 through 7 from a different angle. |
|
Steps 5 through 7 from a different angle. |
 |
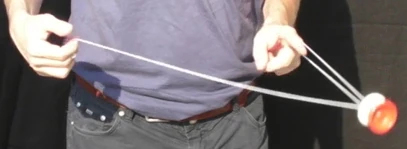
Steps 5 through 7 from a different angle. |
 |
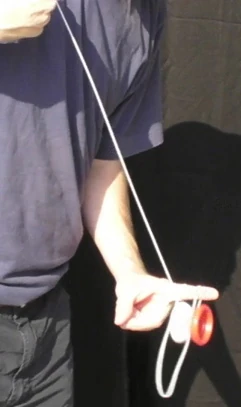
Step 8: Now pull the string tight. The yo-yo now rests in a loop. When performing live, this is a great moment. :) |
 |
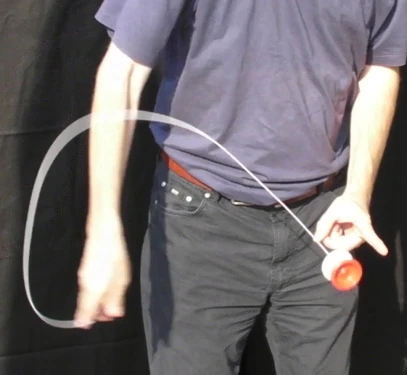
Step 9: Dismount like a Windmill Dismount by swinging the yo-yo over your free hand... |
 |
Step 10: ...and... |
 |
Step 11: ... you should now be either in a twisted Trapeze or a Reverse Trapeze, ready to start a Sidestyle BackBind, depending on which segment of the loop you hit the gap with. |